Get started
Add and import your contacts
Your customer list: add people, import in bulk, tag and segment them.
4 min read6 steps
- 1
Add a contact
Click Add contact. Step 1 asks for name and phone (with country code), step 2 for tags, step 3 for custom fields. Next moves forward, Update or Create saves.
Add contact button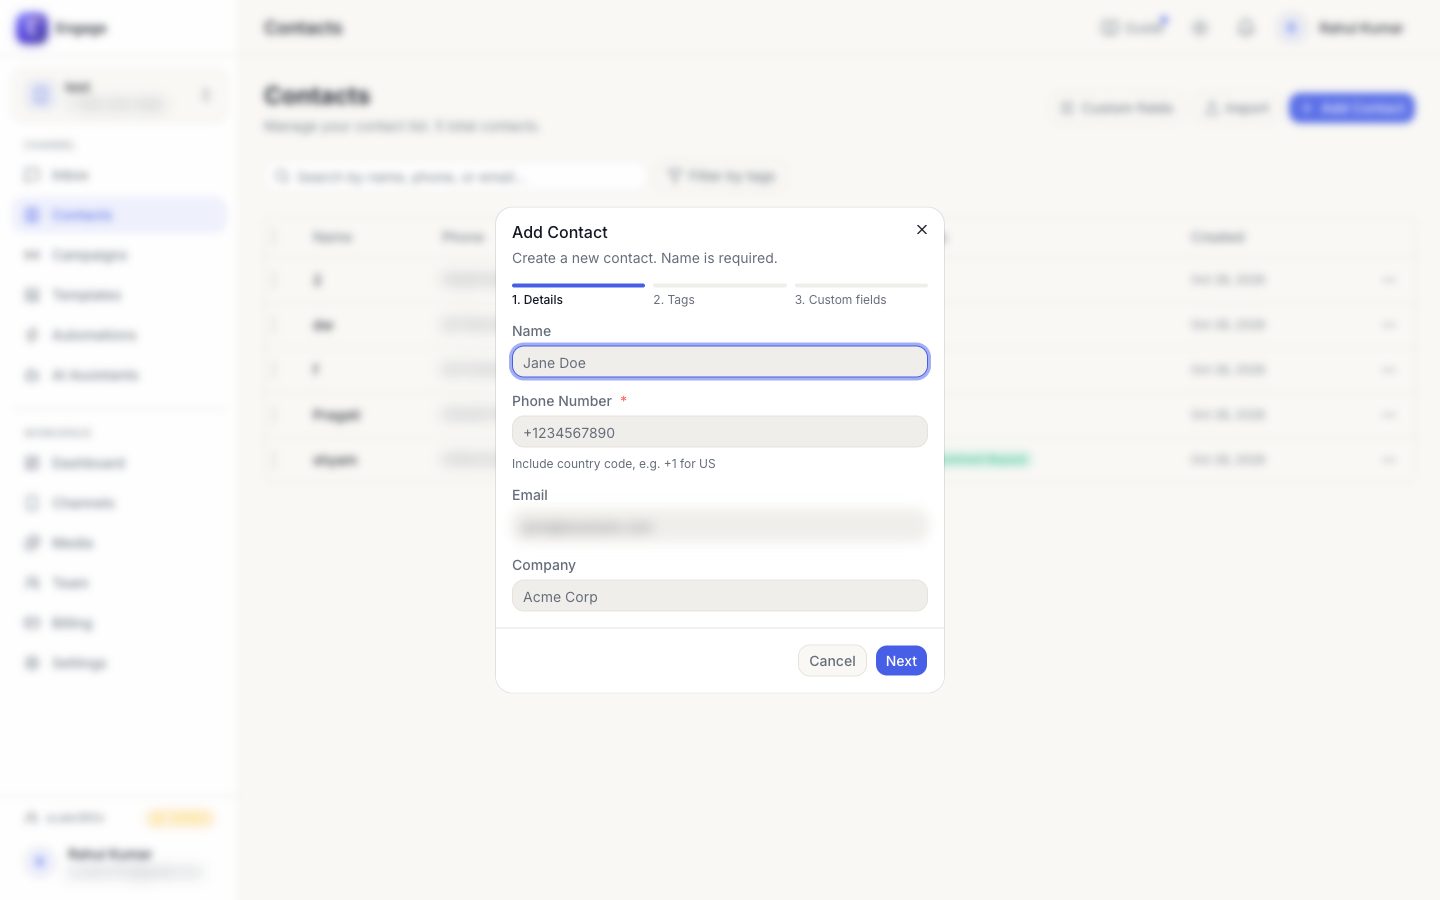
- 2
Search for tags and fields
In steps 2 and 3 type to search; only matching tags or fields are listed, so it stays fast even with hundreds.
Edit contact dialog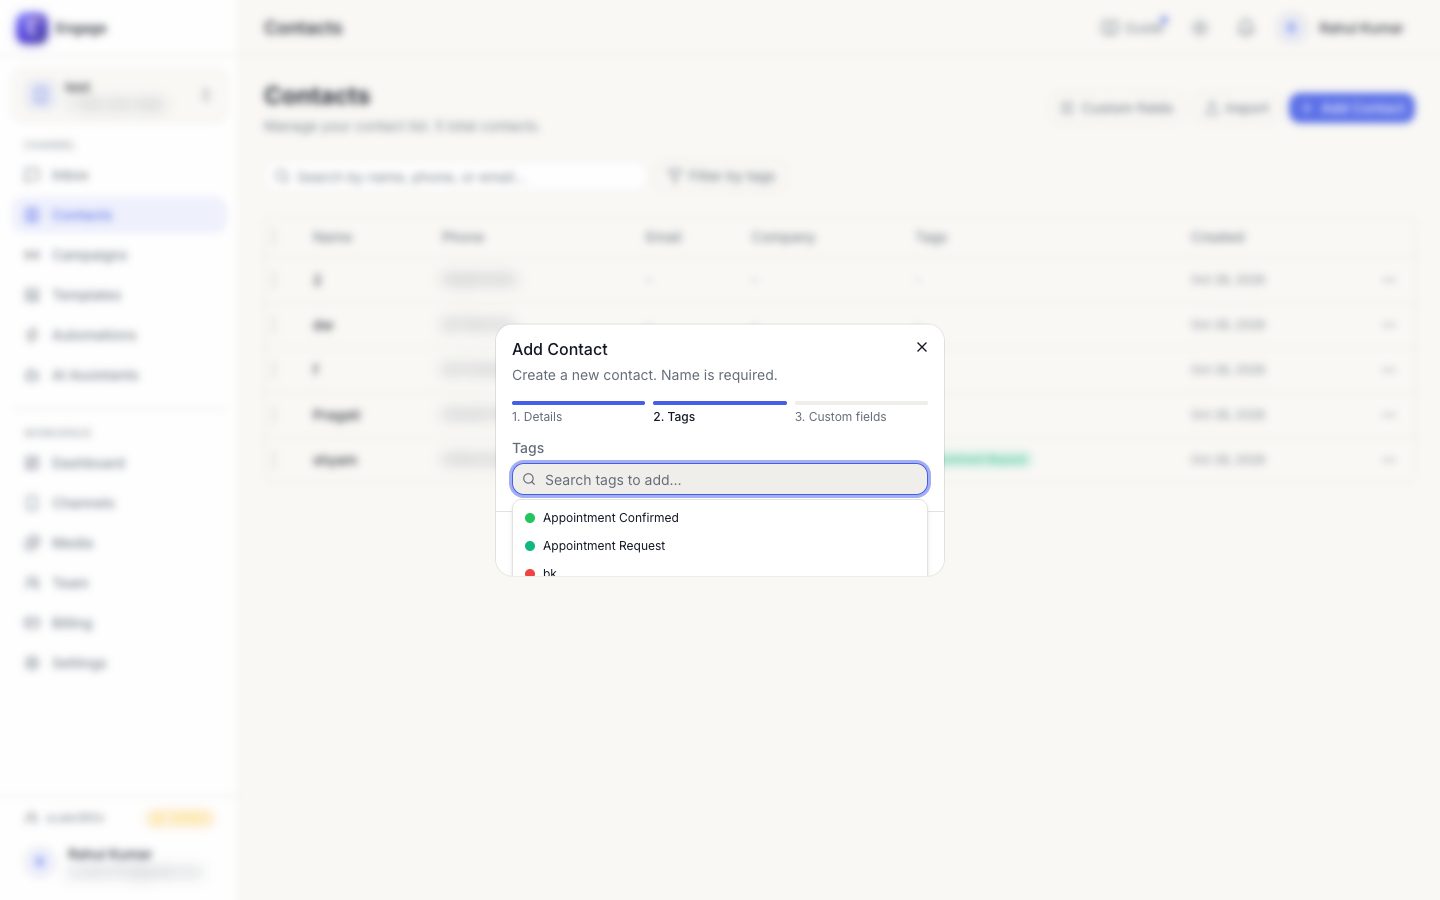
- 3
Import many at once
Use Import to upload a CSV. Map your columns to contact fields, review, and confirm. Duplicates are matched by phone number.
Import button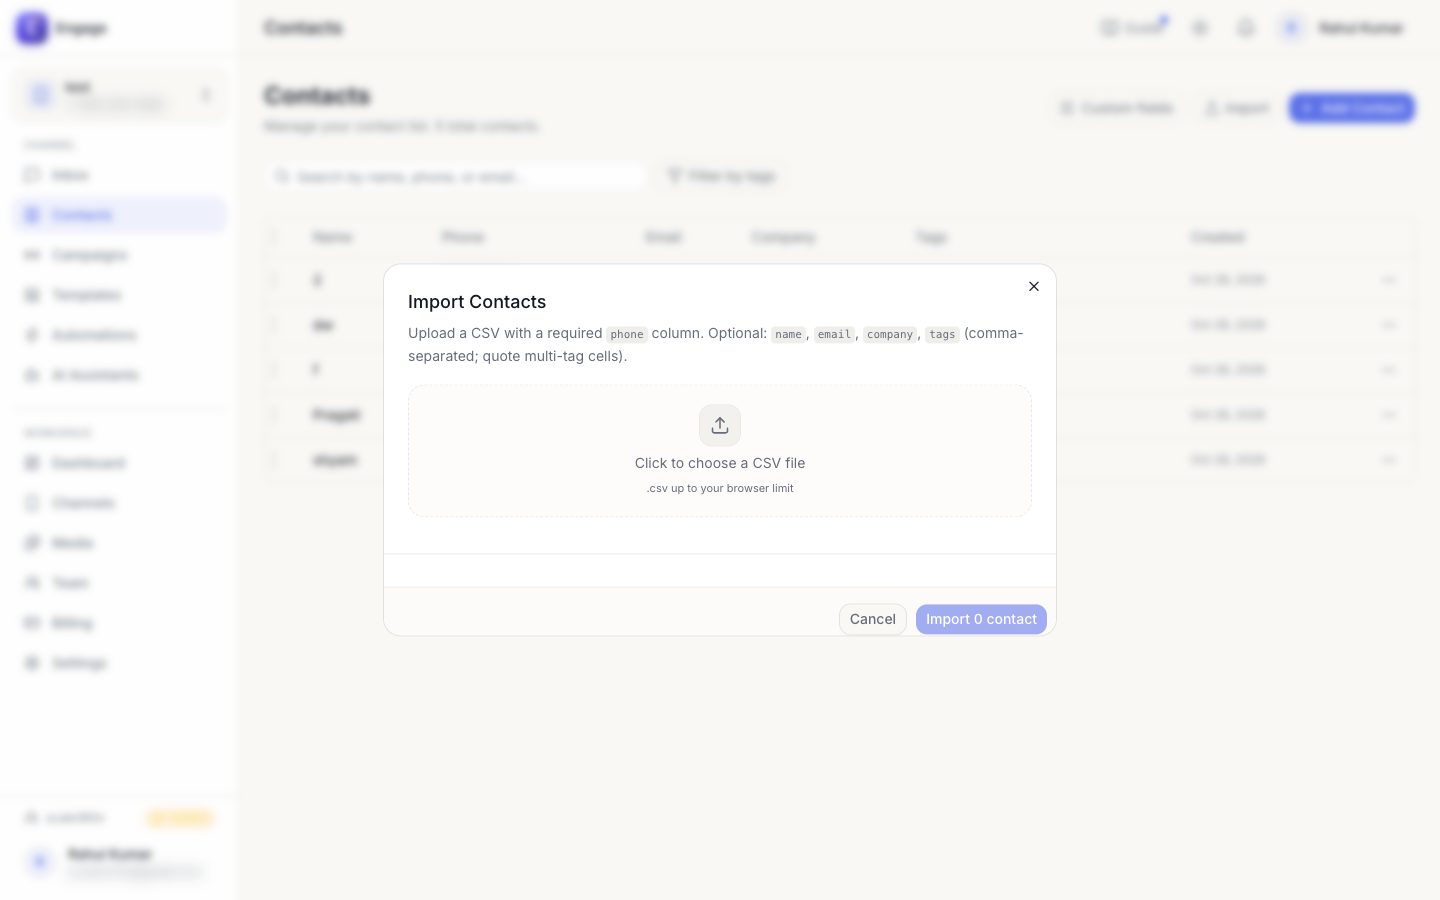
- 4
Filter and find
Search by name, phone or email, and filter by tag or company. Results are paged, so large lists stay quick.
Search bar and filters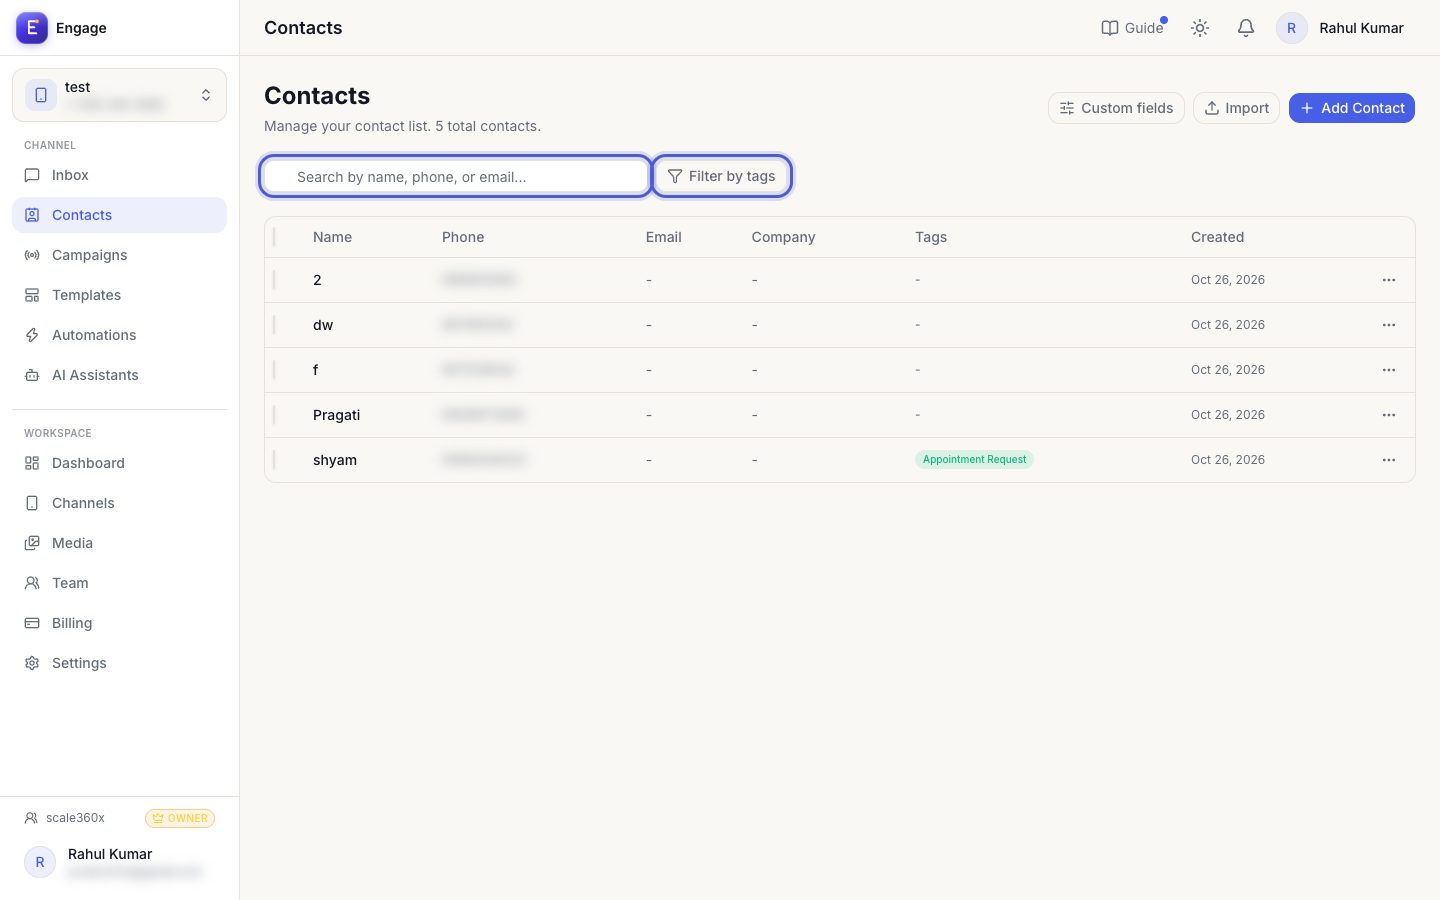
- 5
Start from a ready-made setup
On the Dashboard checklist, choose Set up for your business. Pick your kind of business (or search for it) and we add the tags, contact fields and quick replies businesses like yours use. Nothing you already have is changed. If yours is not listed, choose Create with AI and describe it.
Dashboard → Get started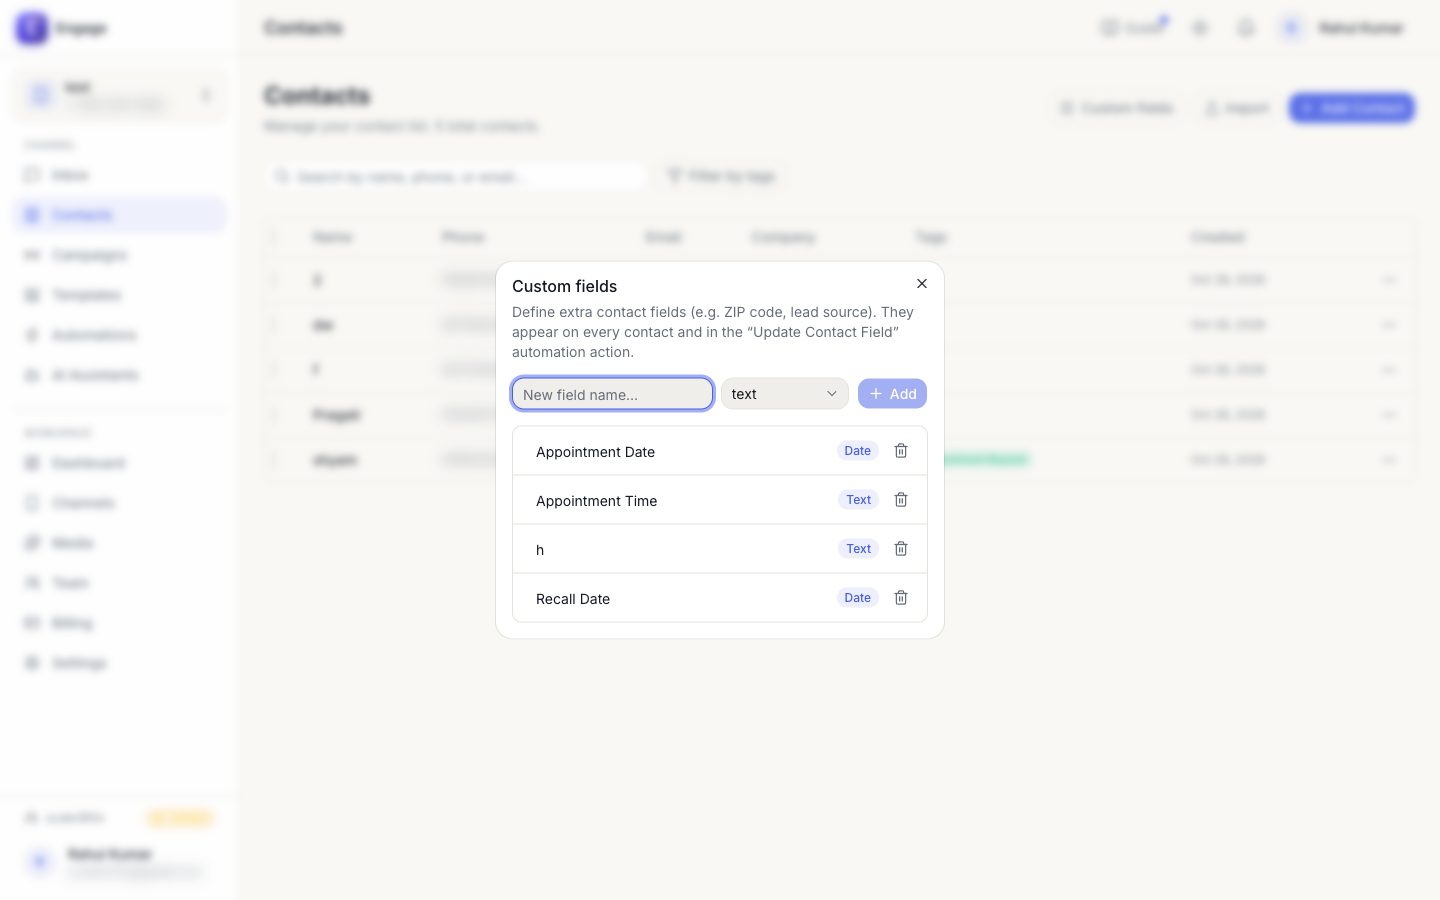
- 6
Create custom fields
Open Contacts → Tags & custom fields in the left menu to add fields such as Appointment Date (date), a dropdown or a number. They appear on every contact and can drive automations.
Contacts → Tags & custom fields
Pro tips
- Always include the country code (e.g. +91). WhatsApp cannot deliver without it.
- Date custom fields can trigger reminders in Automations.
Common questions
A contact says it already exists.
Phone numbers are unique per channel. Open the existing contact instead of creating another.
Try it on your own WhatsApp number
Start a free trial, no card needed, and follow this guide inside the product.
Stuck, or no time? We will set this up for you.
Tell us what your business does. Our team designs the chatbots, connects your tools, gets your messages approved and trains your team. You only reply to the customers it hands to you.