Automate
Build your first chatbot
Chatbots and follow-ups that run by themselves when something happens.
6 min read6 steps
- 1
Start from a trigger
Click New automation and choose what starts it: a new message, a keyword, a tag added, a date field, a template button tap and more.
New automation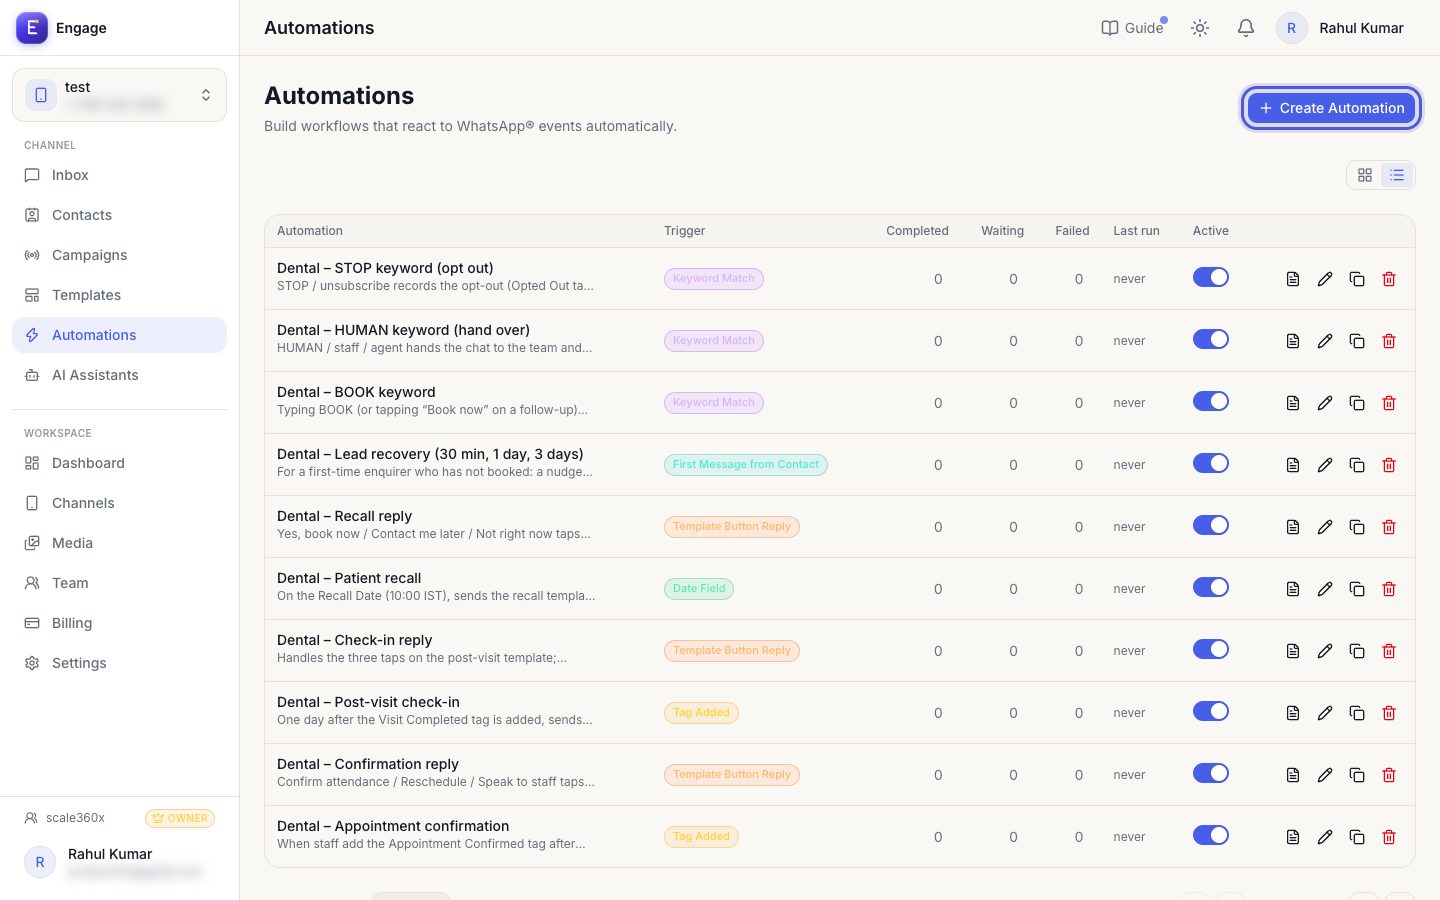
- 2
Build the steps
Add steps: send message, buttons or list, template, tag, assign, wait, condition and more. Buttons and lists can wait for the customer's reply.
Automation editor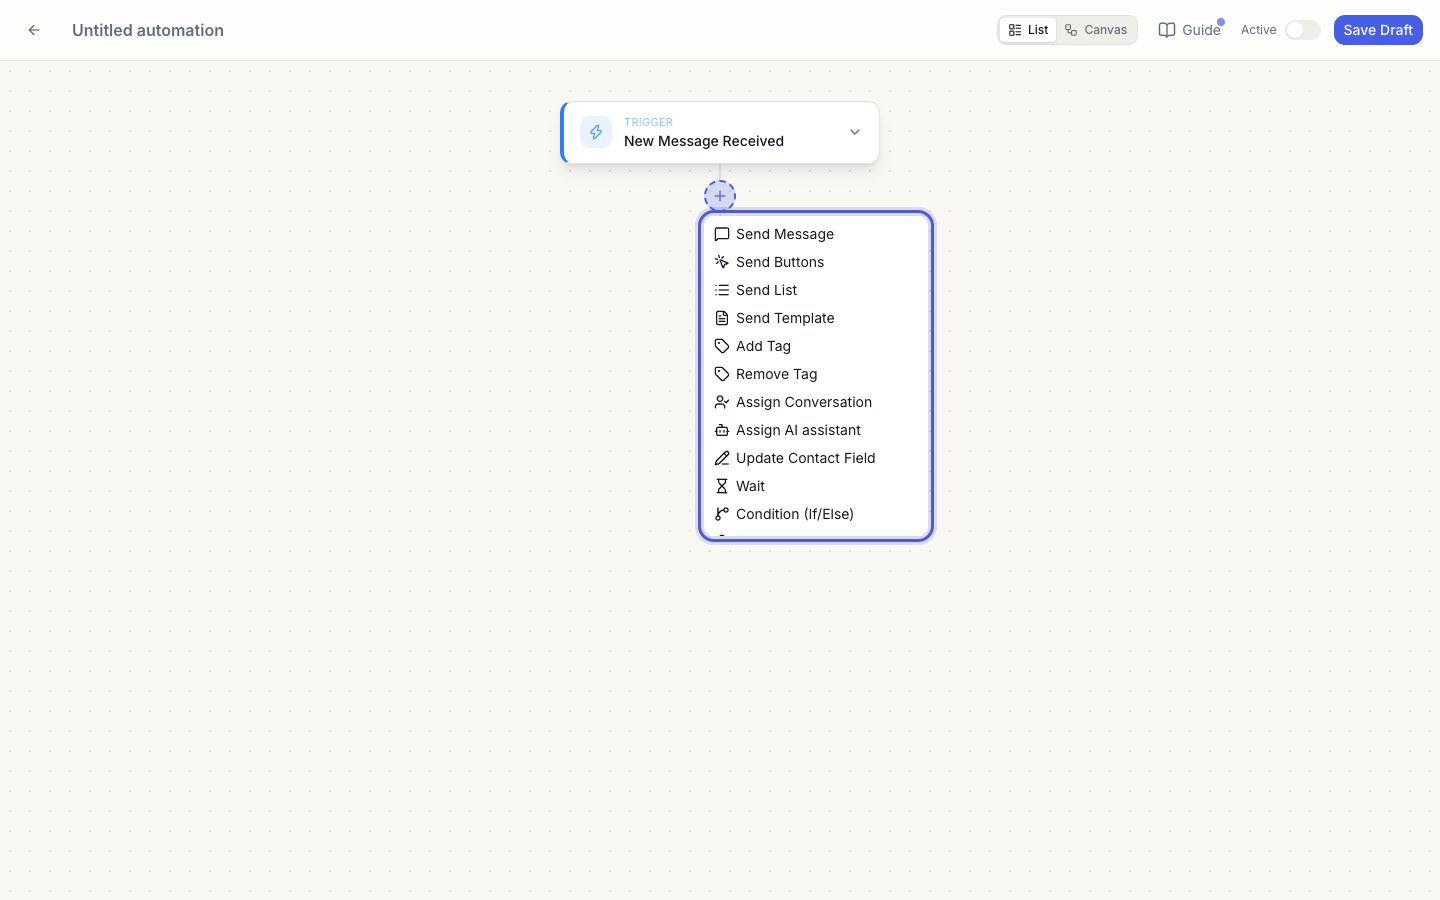
- 3
Keywords and hot keywords
Keyword Match starts an automation when a message contains your words. Tick Hot keyword on it for words like stop, menu or human that must work even while a menu is waiting for a reply. The full rules, and what runs first, are in the guide inside the automation editor.
Trigger → Keyword Match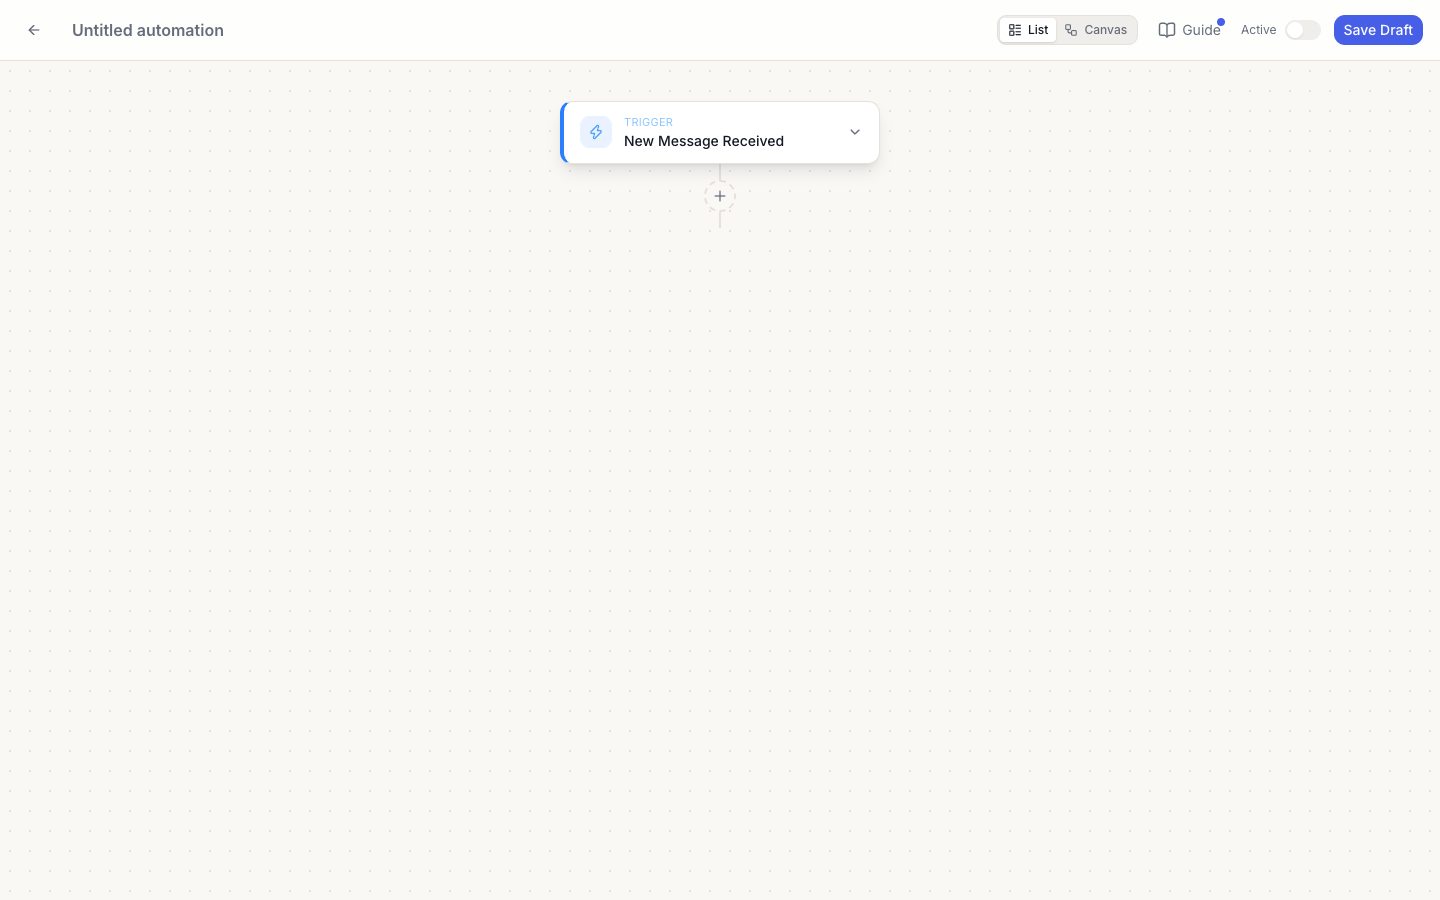
- 4
Make a menu chatbot
Use a Send List with 'Wait for reply', then Route by Reply: one branch per option. Go to Step returns to the menu so the session stays open.
Route by Reply step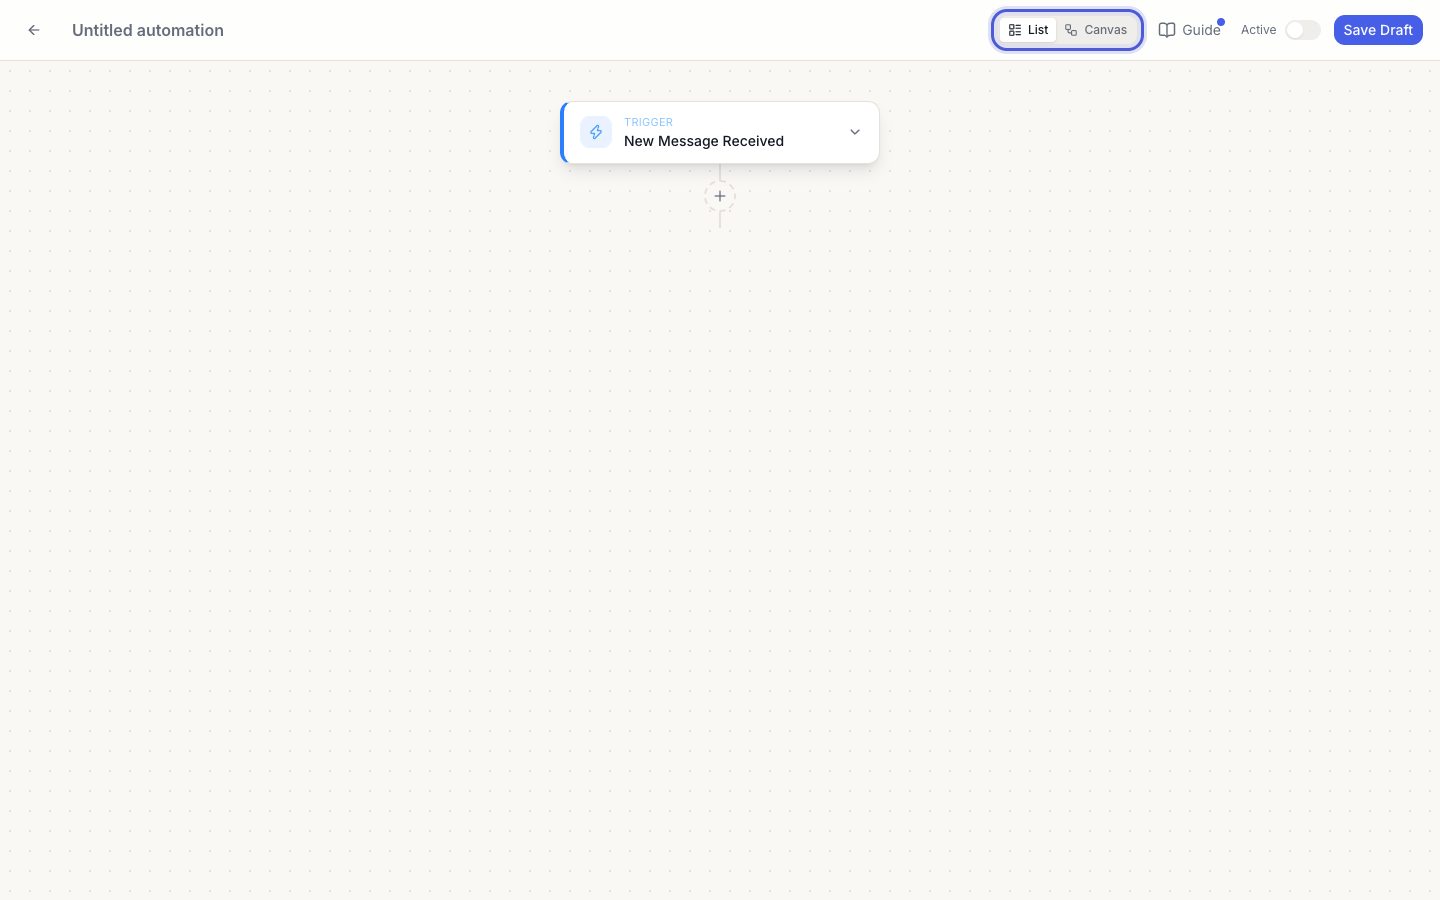
- 5
Switch it on
Toggle Active. Only one active automation may use the same keyword or the same trigger; a duplicate is refused with a clear message.
Active toggle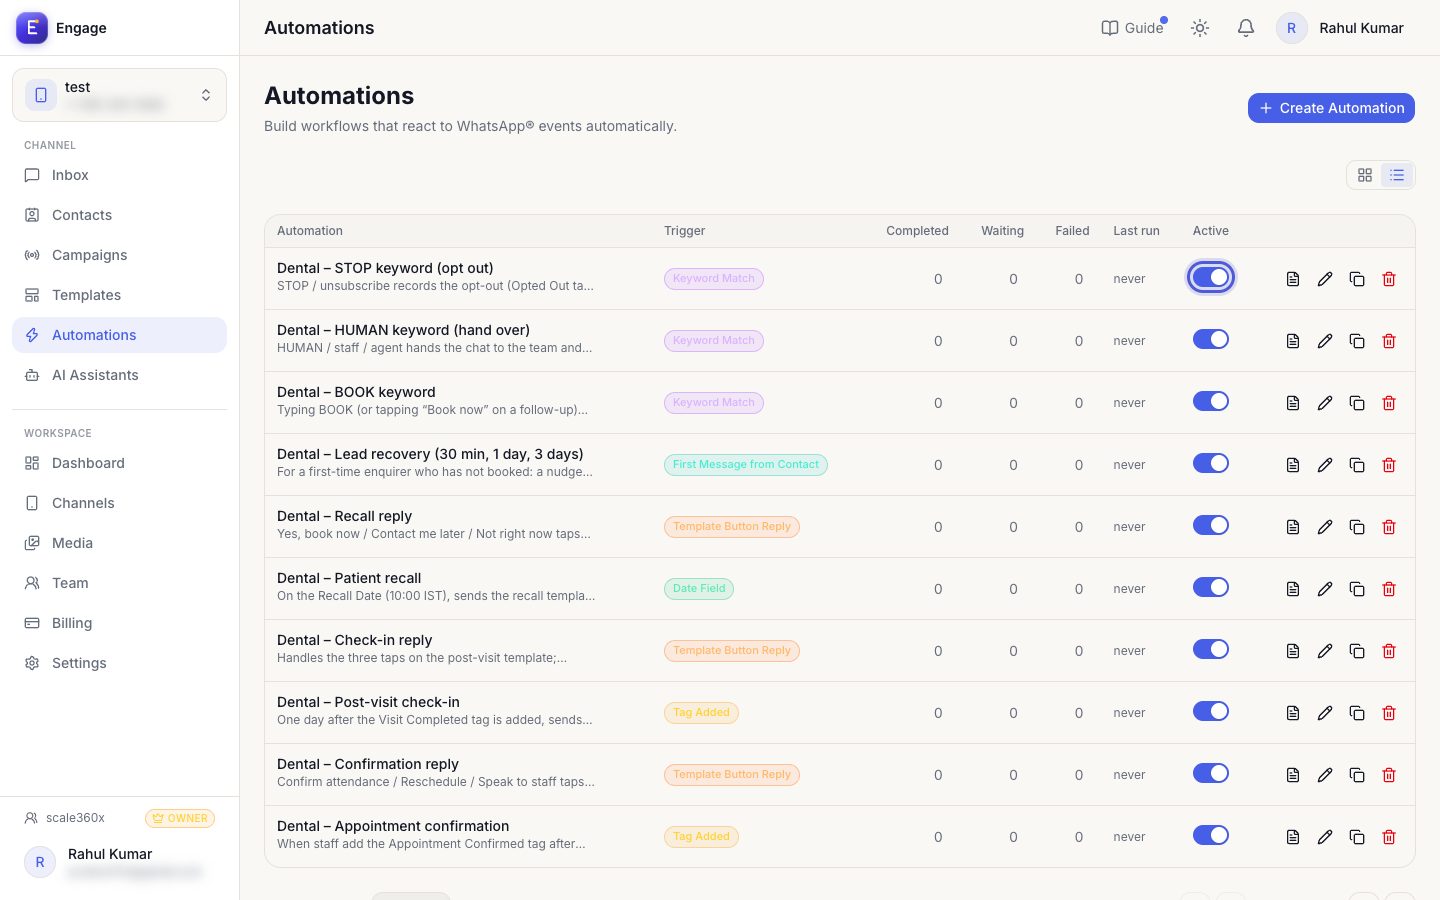
- 6
Check what happened
Open Logs to see every run, with each step's input, output and time.
Logs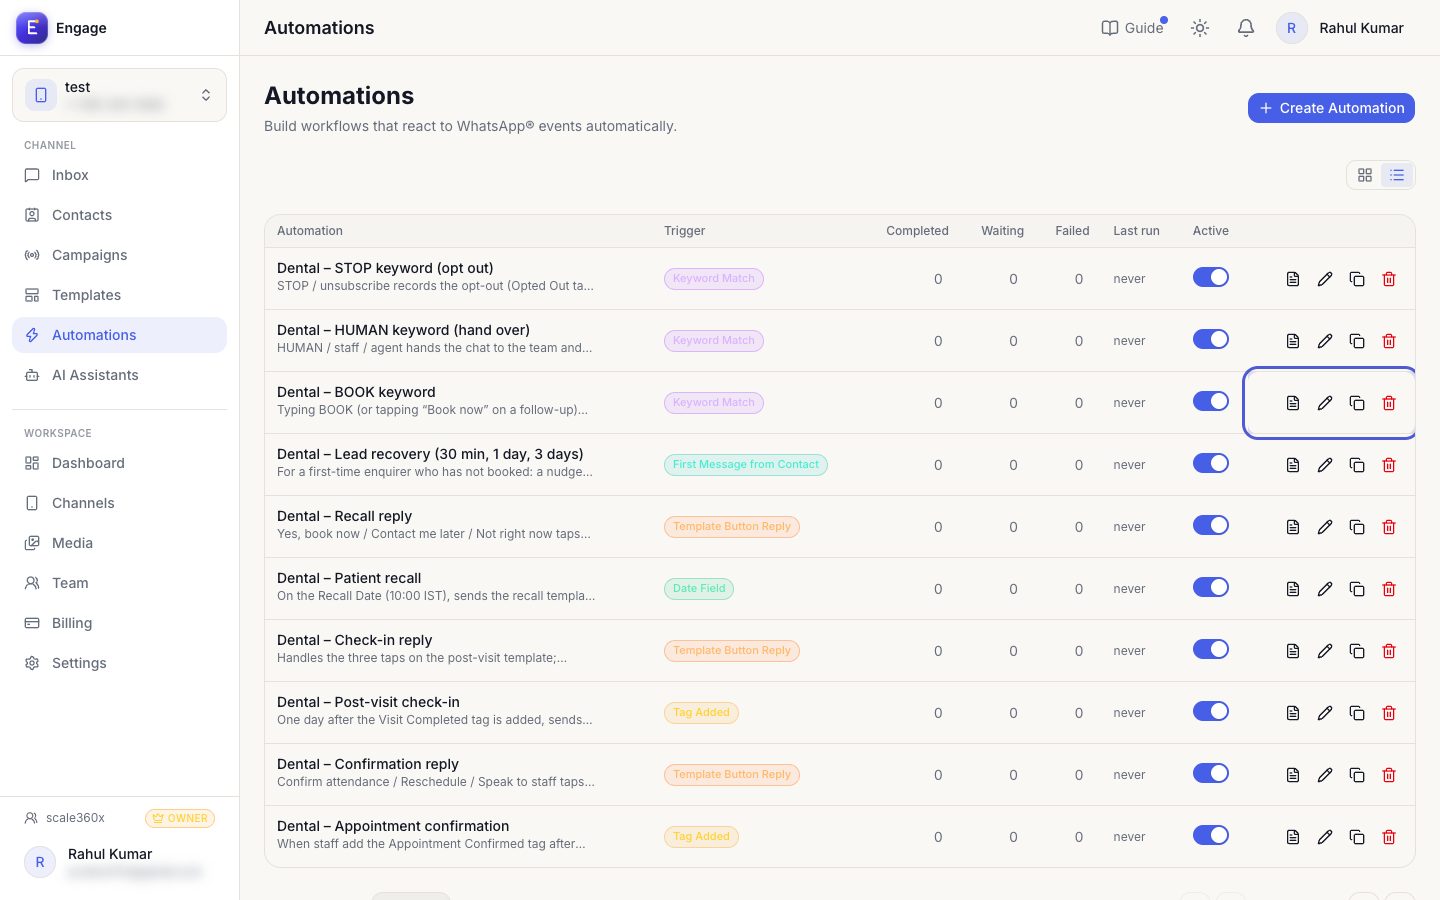
Pro tips
- Your plan limits how many automations you can create; extra capacity is available as an add-on.
- Use a 'Needs Human' tag so the bot stays quiet after handover.
- Help → 'Who answers a chat' explains when the chatbot, the AI assistant or your team replies.
Common questions
Why didn't my automation fire?
Check it is Active, the trigger matches, and no waiting menu session owns that contact. Logs show the reason.
Try it on your own WhatsApp number
Start a free trial, no card needed, and follow this guide inside the product.
Stuck, or no time? We will set this up for you.
Tell us what your business does. Our team designs the chatbots, connects your tools, gets your messages approved and trains your team. You only reply to the customers it hands to you.