Reach customers
Send your first campaign
A 4-step wizard: details, contacts, template, then preview and send or schedule.
5 min read5 steps
- 1
Name your campaign
Step 1 (Details): give it a name only your team sees. You can leave at any point; it is saved as a draft.
Step 1 · Details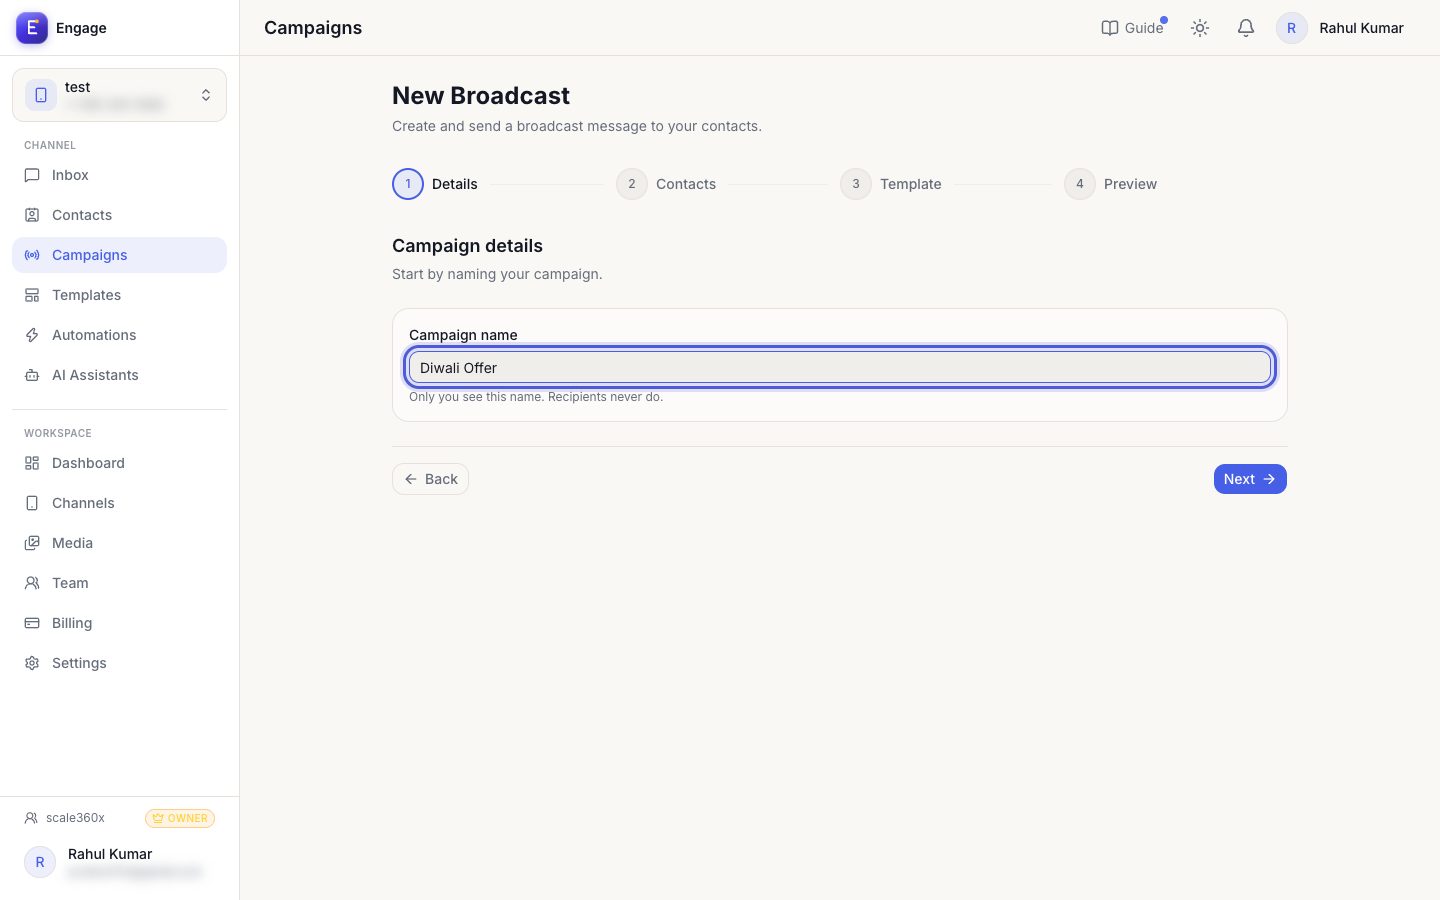
- 2
Choose the audience
Step 2 (Contacts): send to All Contacts, to contacts with certain tags, to contacts matching a custom-field rule, or upload a CSV of numbers. You can also exclude tags (for example Opted Out). The summary shows how many people will receive it.
Step 2 · Contacts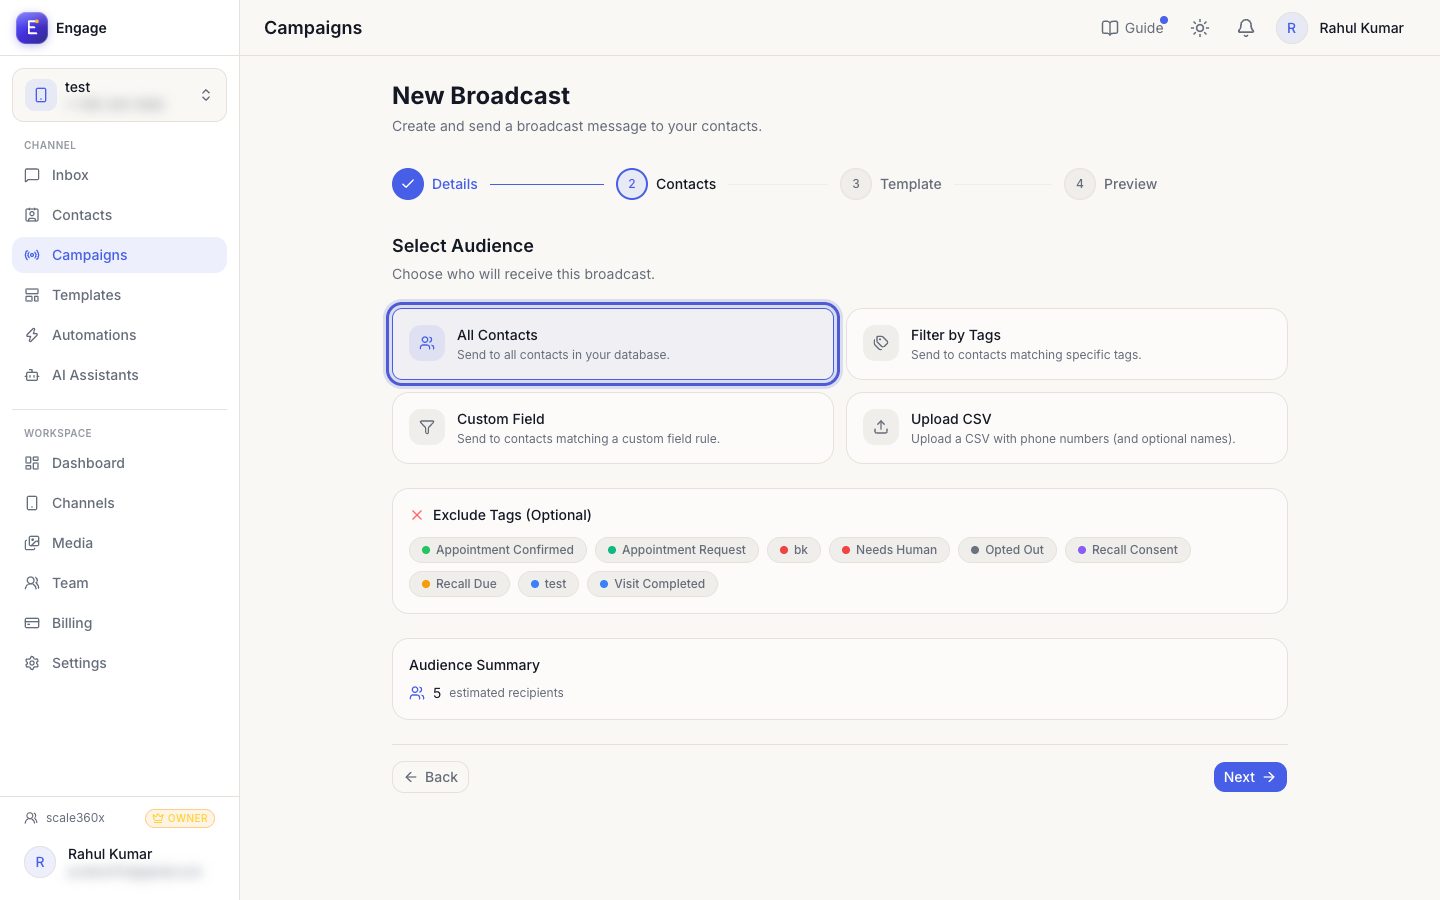
- 3
Pick a template
Step 3 (Template): open the dropdown and search your approved templates. Only APPROVED ones appear.
Step 3 · Template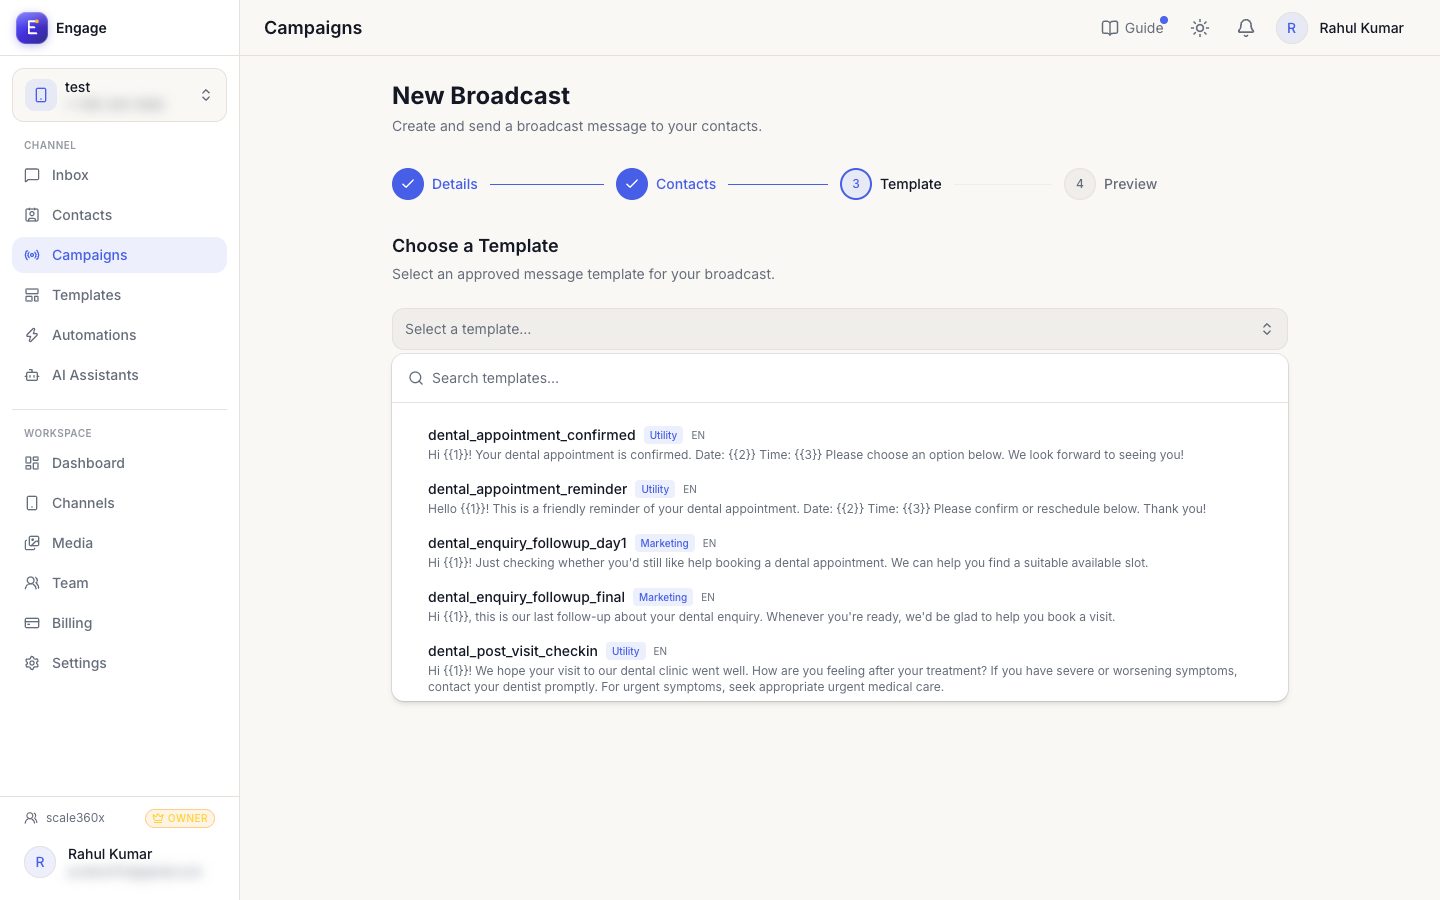
- 4
Fill the variables
Each {{1}}, {{2}} in the template gets a value: a fixed text, or a contact field such as the customer's name. The preview under it shows the real message with buttons; Next stays off until every placeholder is mapped.
Step 3 · variable mapping and preview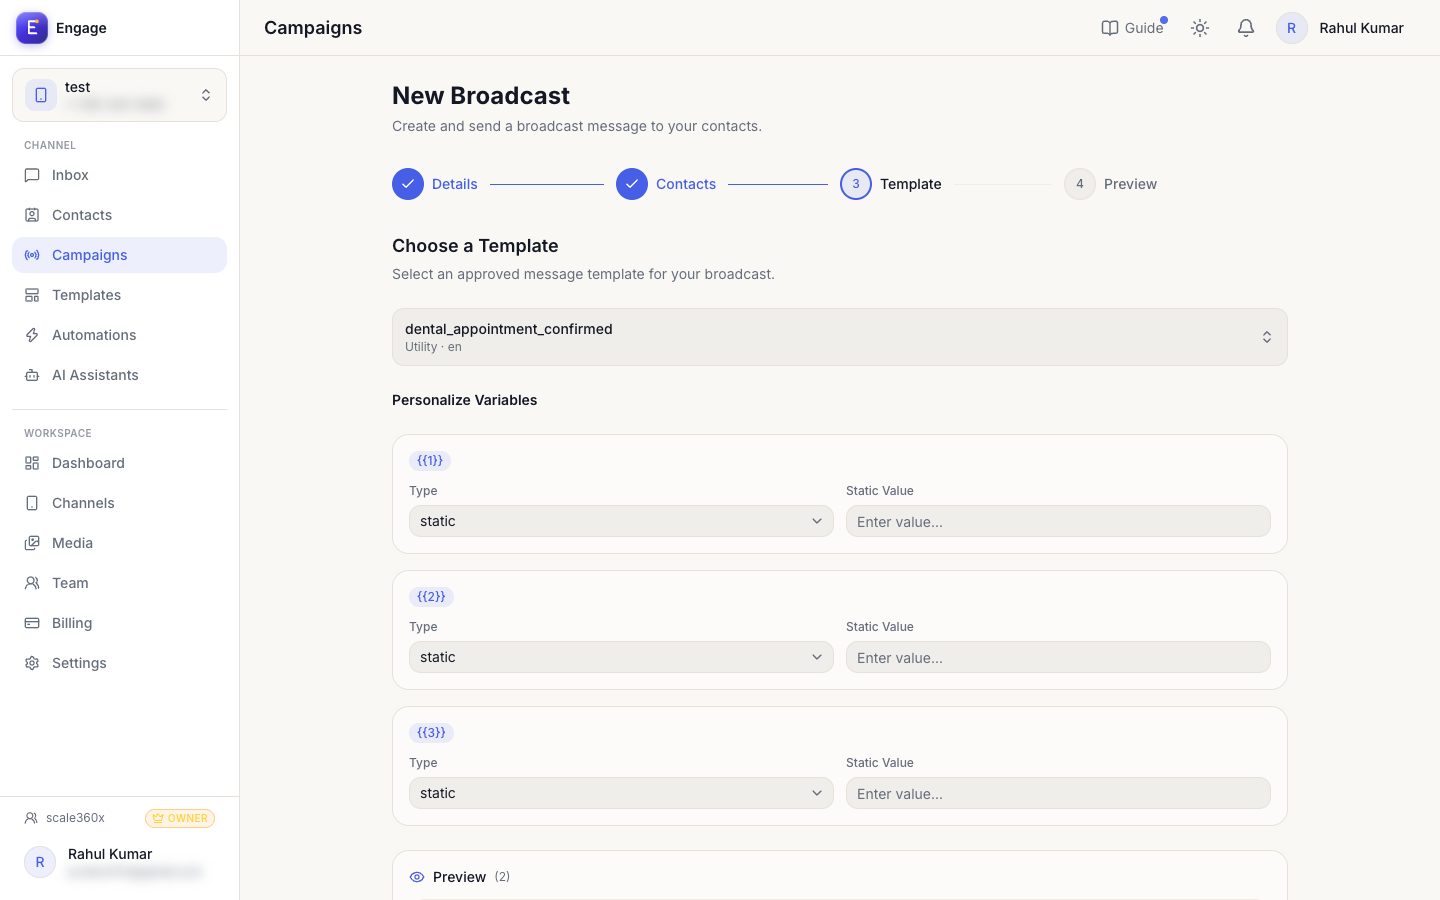
- 5
Preview, then send or schedule
Step 4 (Preview): check the message and the audience one last time. Send now, pick a date and time to schedule, or save as a draft and finish later.
Step 4 · Preview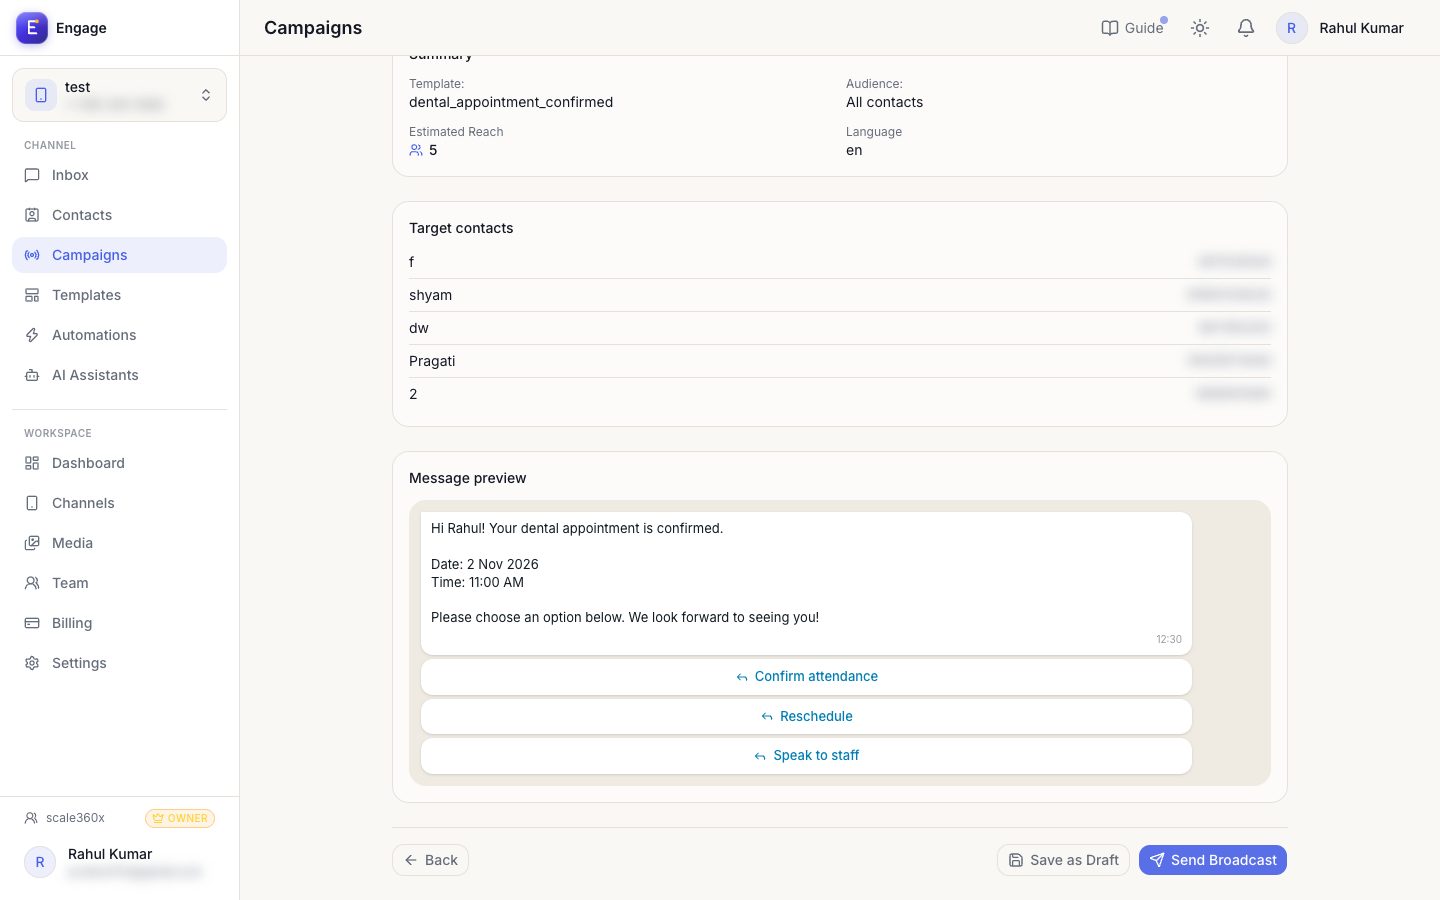
Pro tips
- Send a test to yourself first by making a one-contact audience.
- Marketing templates need the contact's consent; respect opt-outs.
Common questions
My template is missing from the list.
Only APPROVED templates appear. Check its status in Templates.
Try it on your own WhatsApp number
Start a free trial, no card needed, and follow this guide inside the product.
Stuck, or no time? We will set this up for you.
Tell us what your business does. Our team designs the chatbots, connects your tools, gets your messages approved and trains your team. You only reply to the customers it hands to you.